Motherboard Repair Guide | Definitive Maintenance Tips
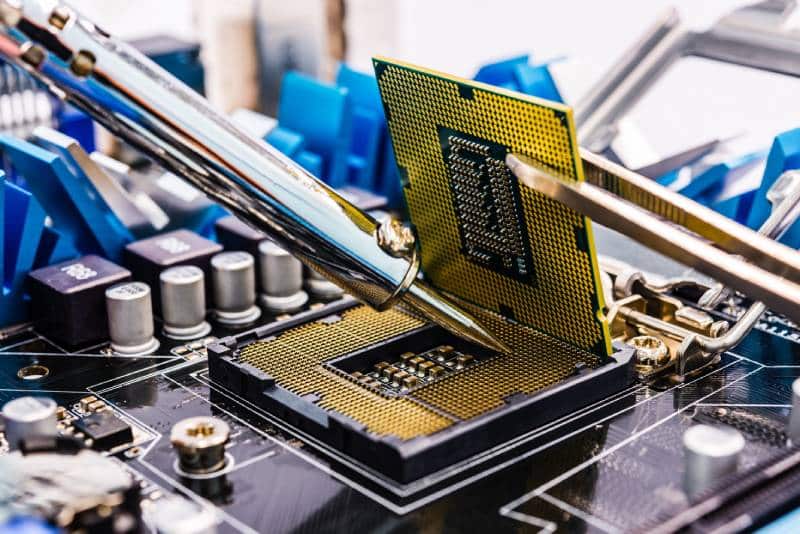
The Motherboard is essential for the working of a computer. It is the foundation for the working of your PC and maintaining Motherboard repair is necessary for your devices’ longevity.
The few tell-tale signs of your Motherboard wearing out is your computer boots up slowly, or your screen starts flickering and misbehaving, or when external hardware is incompatible with your PC. Once the Motherboard is damaged, it’s hard for the device to make a healthy recovery.
Always buy a high-quality motherboard configured with latest features for gaming; otherwise, resuscitation is a hard process; there are few methods by which you can repair your Motherboard temporarily. This article is going to talk about how you can repair your Motherboard and extend the lifespan of your device.
The Motherboard in your PC has several systems, sub-systems, and components that help boost your device for effective function. It is located in a case like a slot in the CPU and most operations are devised from there.
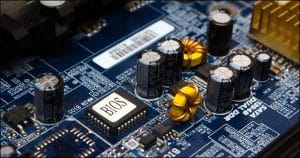
The BIOS is the most important component of the Motherboard. All these pieces and more are what make your PC function effectively as it does. Now, most of these pieces or elements have a chain-fire like reaction, a single component damage affects the functioning of most components. Hence, this is why it is not an easy task to simply repair the Motherboard.
Motherboard Repair and Hardware Diagnostics
It is not an easy task, but if you are willing to go through the trouble here are few ways in which you can extend its lifespan.
Power surges or damages caused due to electrical failures are one of the common causes of motherboard damage. The Capacitor plays a crucial role in controlling the electrical discharge in the Motherboard. The problem is that the Capacitor only has a limited number of cycles and eventually it wears out causing damages to your vehicle.
When the Capacitor turns faulty, your PC starts acting up, before your device goes completely under it is advisable to spot the bad Capacitor. The component once busted, will start leaking electrolytic fluid. When this happens, the fluid dries up on the Motherboard causing electrical stress on the Motherboard. In some cases, the capacitor busts open intensifying the damage on the system.
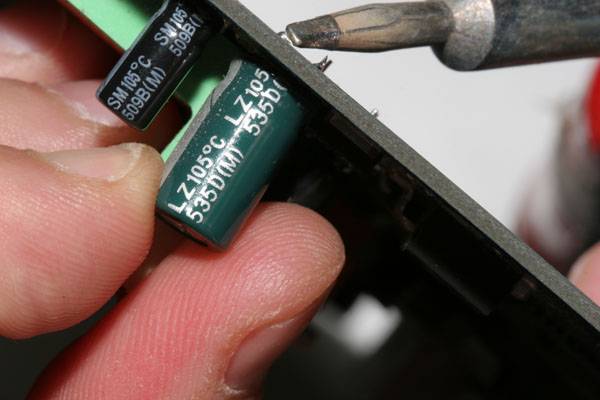
Replace the Capacitor by taking the device to a professional. If you plan on doing it yourself, make sure you are equipped with the knowledge, skills, and risks. It is of utmost importance that you know exactly what you’re doing when dealing with this component. One slight move could damage the entire internal circuit.
Your Motherboard is prone to static discharges, which causes damage to the device over time. An unwarranted discharge could dismantle the entire circuit. Here are few tips to prevent static discharge and to keep your Motherboard safe.
The Power Supply Unit in your PC is one that is most likely to face damages. This can happen due to many reasons, the humidity in the air can also cause damage to the PSU.
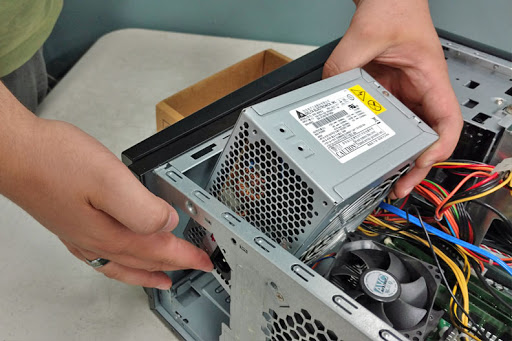
The solution to detecting PSU failure is simple. If your PC does not switch on, this is most likely because of a PSU failure. Replacing the PSU can be done manually or it is advisable to have it done by professionals.
Purchase a new PSU, open the case, and fit the new PSU after swapping out the old one. Be careful when you do so and make sure you are equipped with the skills to do the same.
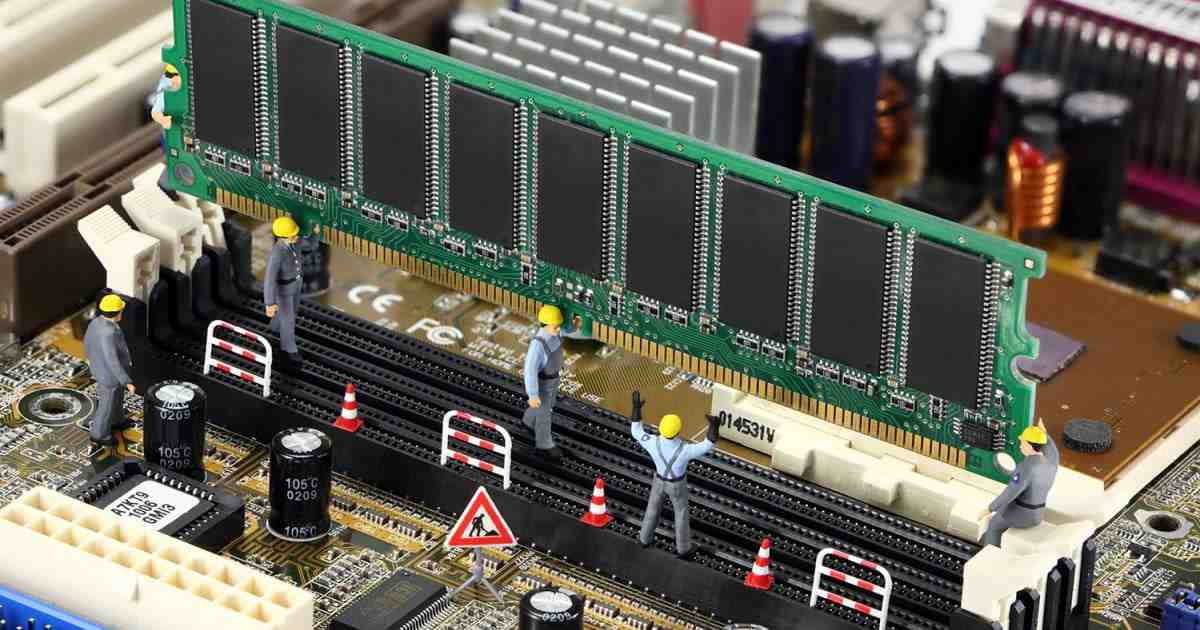
Your Motherboard can act up due to a RAM failure as well. The key signs to detect a RAM problem is to check if your computing speed is low or if your PC takes time when booting. Open the case and check if the RAM is positioned properly in its assigned slot. Once you’ve verified the same and the PC remains non-functional, you must replace the RAM.
This is an important component of the Motherboard, once you’ve verified all other components of the device then you can move on to the BIOS. Confirming the working of other components is important because dealing with the BIOS is risky. The BIOS is what determines the functioning of your PC, if the BIOS chip is faulty then your device remains unbootable.
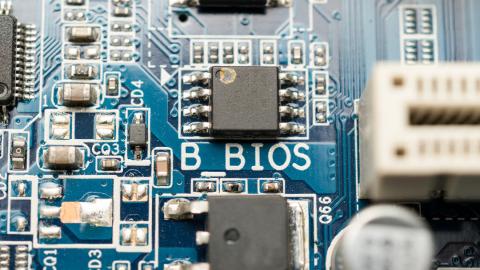
The BIOS firmware is stored in the flash memory, hence the name flashing. To replace the chip, you need a firmware image. This is essentially upgrading the BIOS to a new version. Check the company name, model, and upgrades. Purchase the model and store code on external hardware.
Follow the commands displayed by the executable file and reboot your PC.
The process if done right is quite simple and takes no time. There are however major risks involved, such as a power failure during the reboot session. This will cause the failure of an entire system. The BIOS will have an incomplete code and you may end up ruining the entire process.
It is highly advisable to follow through the process only if you have the knowledge and the skills to do so. If not, seek professional help. Replacing the BIOS chip must be the last resort to the entire process.

